Recording conversations directly from your smartphone is a highly sought-after capability for professionals, journalists, and everyday users who need to keep accurate records of their communications. Samsung Galaxy devices offer a distinct advantage in this area, often providing built-in functionalities that eliminate the need for complicated workarounds.
Understanding how to access and utilize these features ensures that you capture high-quality audio directly from the source. This comprehensive guide details the exact steps to enable and manage call recording on Samsung devices, whether you prefer automated systems, manual controls, or official applications from trusted storefronts.
Understanding Call Recording on Samsung Devices
Samsung integrates audio capture capabilities directly into its customized user interface, known as One UI. For devices running Android 9 and newer, the native Phone application often includes a dedicated recording function. This integration ensures that both sides of the conversation are captured clearly, utilizing the device’s internal audio routing rather than relying on the microphone to pick up speakerphone output.
Google has implemented strict policies regarding the Accessibility API to prevent unauthorized background audio capture. As a result, the native feature provided by Original Equipment Manufacturers (OEMs) like Samsung is the most reliable method. Samsung’s implementation operates entirely within the parameters set by the Android operating system.
Regional Variations and Availability
It is important to note that the presence of the native recording feature within the Samsung Phone app is heavily dependent on regional firmware. Samsung enables or disables this function based on local regulations. If your device’s firmware corresponds to a region where this capability is restricted, the recording option will be absent from the dialer menu. In such instances, users must look toward official applications available on storefronts like the Google Play Store.
How to Record Phone Calls Using the Samsung Native Phone App
For devices with the feature enabled, configuring your smartphone to capture audio is a straightforward process. You have the flexibility to set up automatic parameters or control the capture manually on a call-by-call basis.
Setting Up Automatic Call Recording
Automating the process ensures that you never miss an important detail during a sudden or unexpected conversation. Samsung allows you to customize which calls trigger the system.
-
Launch the Phone Application: Open the default Samsung Phone app from your home screen or app drawer.
-
Access the Menu: Tap the three-vertical-dot icon located in the upper right corner of the screen to open the overflow menu.
-
Navigate to Settings: Select Settings from the drop-down list.
-
Locate Recording Options: Tap on Record calls.
-
Enable the Feature: Tap on Auto record calls.
-
Configure Parameters: Toggle the switch at the top of the screen to the On position. You will then be presented with three distinct operational modes:
-
All calls: Every incoming and outgoing conversation will be captured automatically.
-
Calls with unsaved numbers: The system will only capture audio when communicating with numbers not stored in your Contacts list.
-
Calls with specific numbers: This allows you to handpick specific contacts from your directory.
-
Recording Phone Calls Manually
If you prefer granular control over your storage space and only wish to capture specific moments, manual operation is the ideal route.
-
Initiate or Answer a Call: Use the Samsung Phone app to dial a number or accept an incoming call.
-
Locate the Record Button: Once the call connects and the active call screen appears, look for the Record call button.
-
Accept Terms (First Use): If this is your first time using the feature, a prompt will appear asking you to accept the manufacturer’s terms and conditions. Tap Confirm.
-
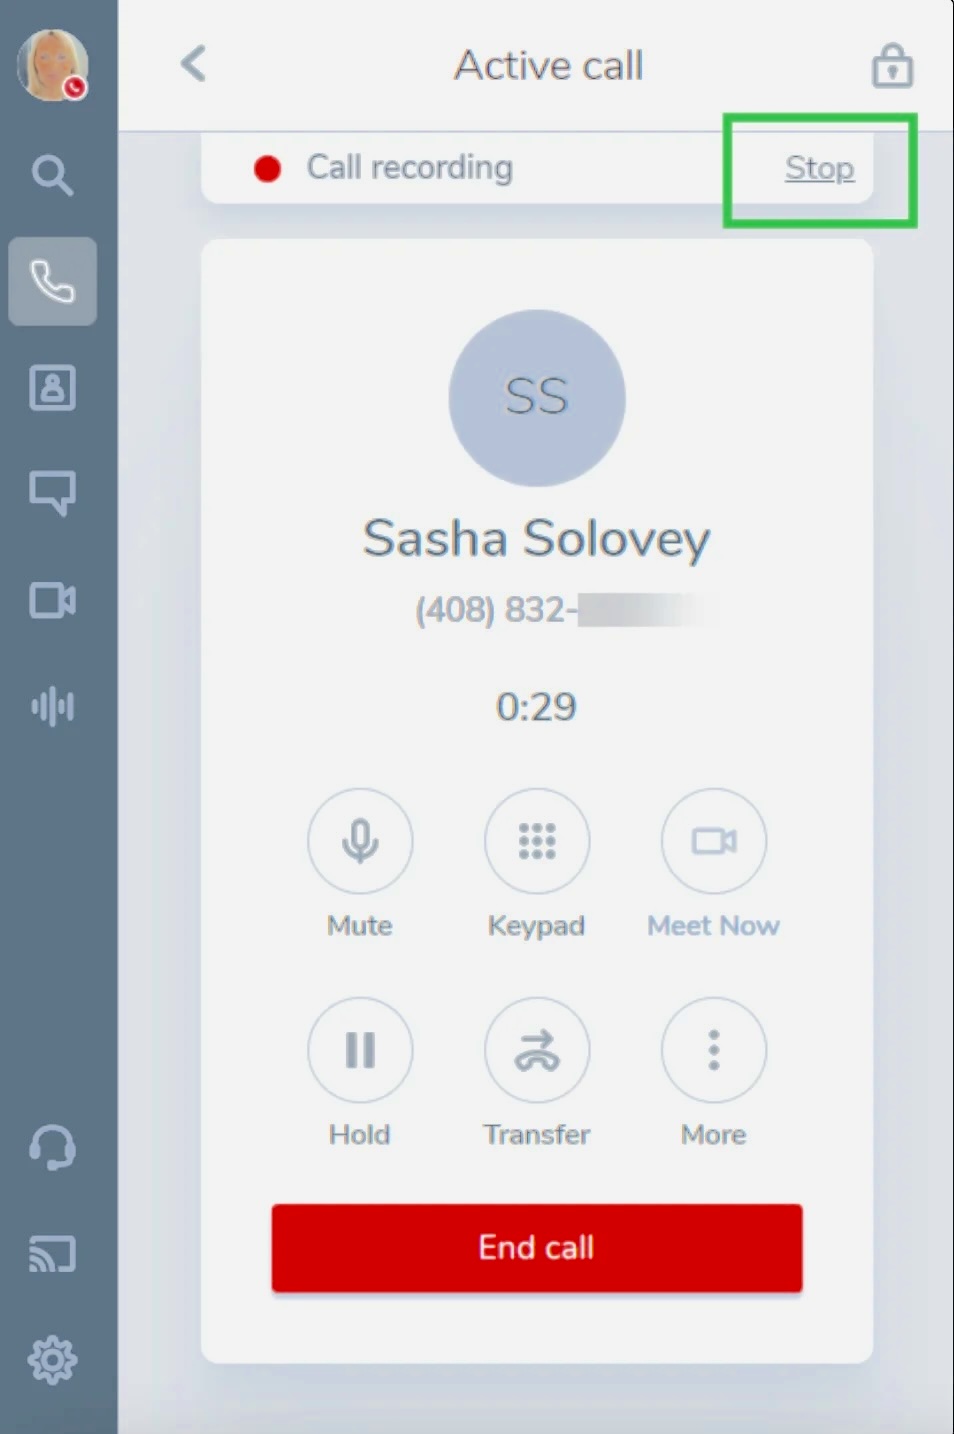
Start Capturing: Tap the Record call button. A timer will appear indicating that the audio is being saved.
-
Stop Capturing: Tap the Stop recording button on the active call screen to finish. The system will also automatically stop and save the file when the call disconnects.
Note: If the button is not immediately visible on the active call screen, tap the three-dot menu icon; the record option may be housed within that secondary menu.
Managing and Locating Your Audio Files
Once you have captured your conversations, accessing the audio files is handled through Samsung’s built-in file management system. The files are typically saved in standard audio formats like M4A or AMR, making them easy to playback or transfer.
-
Open My Files: Locate and open the My Files application on your Samsung device.
-
Navigate Storage: Tap on Internal storage.
-
Find the Folder: Scroll through the directory and select the Recordings folder, then tap on the Call folder.
-
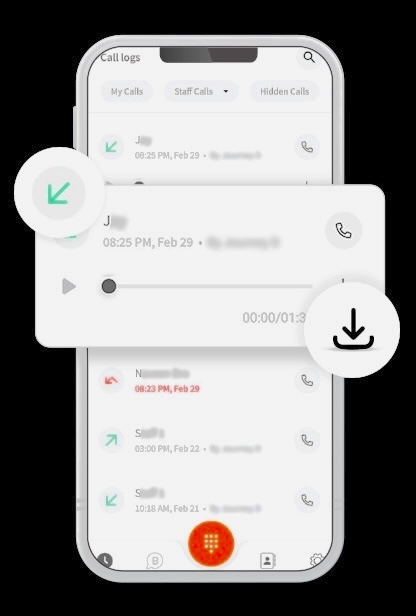
Access Your Files: Here, you will find a chronological list of all captured conversations. The files are usually named using the contact’s name or phone number, along with the date and time.
-
Playback and Sharing: Tap on a file to play it using your default media player. To share a file, long-press the audio clip to select it, tap the Share icon, and choose your preferred method (email, messaging apps, or cloud storage).
Alternatively, you can access these files directly through the Phone app by navigating to Settings > Record calls > Recorded calls.
Using Official Applications for Call Recording
If your Samsung device does not have the native feature enabled, or if you require advanced functionalities like cloud synchronization or parental monitoring, you can utilize applications available on official storefronts.
It is crucial to avoid side-loading unverified software. Always source applications directly from the Google Play Store to ensure compliance with security standards.
Google Voice
Google Voice provides a highly reliable, cloud-based method for handling communications. It provides users with a dedicated phone number and includes built-in capture functionalities specifically for incoming calls.
-
Account Setup: Visit the Google Voice platform and set up your account.
-
Access Settings: Click or tap the Settings gear icon.
-
Enable the Feature: Navigate to the Calls section and locate Incoming call options. Toggle this switch to enable the feature.
-
Operation: During an active incoming call through the Google Voice interface, press the number 4 on the keypad. An automated voice prompt will announce to all parties that the recording has started. Press 4 again to stop. All files are stored securely on the Google Voice servers.
Automatic Call Recorder (Official Play Store Release)
Available on the Google Play Store, this application offers a robust set of features for users who need consistent audio capture capabilities.
-
Installation: Download the app directly from the Google Play Store.
-
Permissions: Upon launching, carefully grant the necessary permissions for microphone and storage access, as required by the Android operating system to function properly.
-
Configuration: Access the app’s settings via the top-right menu. Navigate to the recording mode options and select automatic capture for both incoming and outgoing routes.
-
Customization: The application allows users to tweak audio sources, adjust volume levels, and define cloud storage backup protocols (such as linking to Google Drive).
FreePhoneSpy and Device Monitoring
For parents managing their children’s devices, ensuring a secure digital environment is a priority. Applications designed for parental control and device monitoring, such as FreePhoneSpy, provide extensive oversight. When sourced properly and used to manage a dependent’s smartphone, these tools often include features that log communication activities, track device usage, and manage audio environments. If you require deep integration for monitoring purposes, ensure that any parental control software you implement is obtained through official, verified channels and is compatible with your specific Samsung hardware.
Frequently Asked Questions
How do I record a conversation on my Samsung device without downloading anything? You can utilize the built-in native dialer feature. Open the Phone app, tap the three-dot menu, go to Settings, and select ‘Record calls’. From there, you can configure the system to operate automatically for all numbers, or you can manually tap the record button on the screen during an active conversation.
Is there a visual or audio indicator that a conversation is being captured? When using the native Samsung feature, a timer and a recording icon will appear on your screen. In some regions, or when using platforms like Google Voice, an automated audio beep or a voice prompt will announce the start of the capture to all parties on the line.
Can I capture audio using older Samsung Galaxy models? Yes, all modern Samsung Galaxy phones have this hardware capability. However, the software interface and the exact menu path may differ slightly depending on the version of One UI and Android your specific model is running. The native software feature is generally streamlined on devices running Android 9 and above.
How do I delete old audio files to free up storage space? Open the ‘My Files’ application on your device. Navigate to ‘Internal Storage’, locate the ‘Recordings’ folder, and open the ‘Call’ subfolder. Long-press on the specific audio files you wish to remove, and tap the trash can or ‘Delete’ icon to permanently erase them from your device.
Can I use the standard Voice Recorder app for phone conversations? The default Samsung Voice Recorder app is designed for capturing environmental audio, meetings, and voice memos. Due to Android system routing, the Voice Recorder app typically cannot access the dedicated voice call audio stream simultaneously while the Phone app is actively using the microphone. You must use the dedicated features within the Phone app or an authorized communication application.
